Tags: Organizing Your Data
You can use Tags to categorize emails and contacts.Logging in
- Using your favorite web browser, navigate to https://mail.epbfi.com.
- Once the page loads, you will be greeted by the login dialog box:
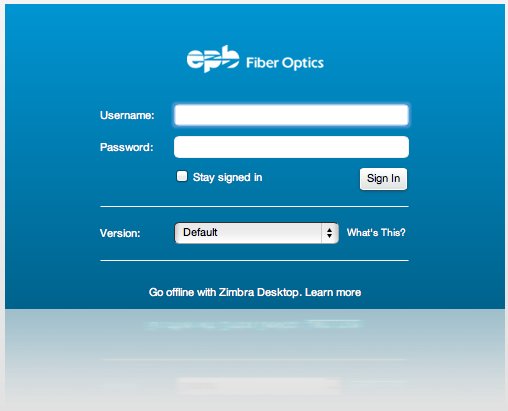
- In the Username field, type in your Advanced Email Address (for example, john.appleseed@mycompany.com).
- In the Password field, type in your Advanced Email password.
- Click the Log In button to log in.
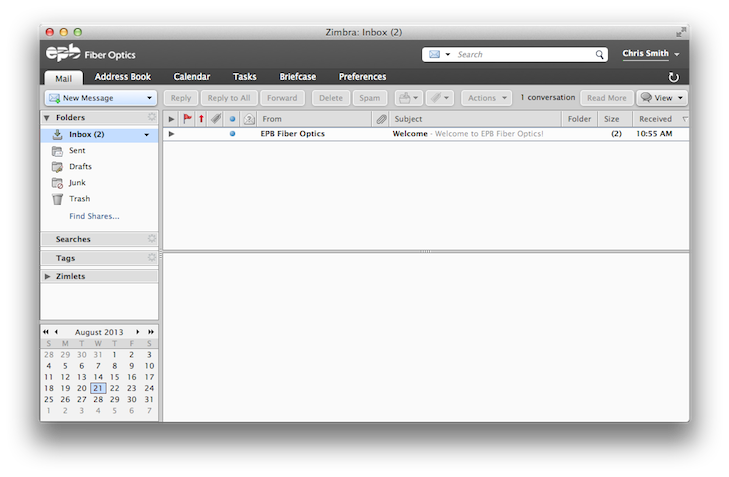
- Your Inbox should now appear on the screen.
Creating a new tag
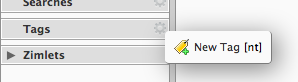
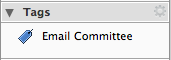
- In the left pane, locate the Tags section:

- Click on the Gear icon to bring up a tags menu:
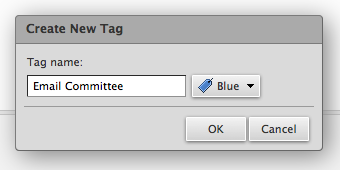
- You should now see the Create New Tag dialog. Specify a name for the tag, select a color, then press the OK button.
- The new tag should appear in the left pane under the Tags section.
Assigning a tag to an email
- Select the message in your mailbox that you would like to tag.
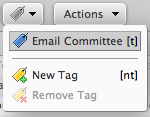
- Click on the Tag selected item(s) button in toolbar above your messages pane:

- Select the tag you would like to be applied to the email:
- Notice that a tag now appears next to the message in the messages pane:

- You will also see a new Tags category when you read a message:

Automatically assign tags to new messages
- Using Filters, we can automatically assign a tag to an incoming email beased on criteria you specify.
- Click on the Preferences tab at the top of your webmail:

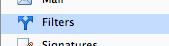
- In the Preferences pane on the left side of your webmail, select the Filters category.
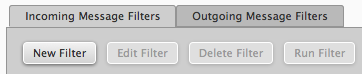
- With the Incoming Message Filters tab selected, click the New Filter button.
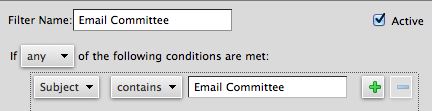
- Specify a Filter Name and the criteria that matches what you would like to be tagged. You can use the + and - buttons to add or remove more criteria.
- In the Perform the following actions section, use the drop-down menu to select Tag with:
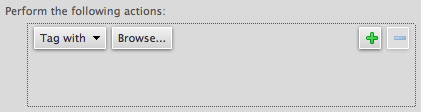
- Click the Browse button:

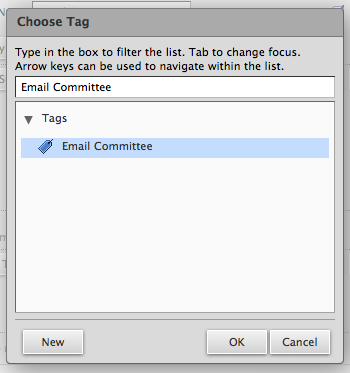
- Select the tag you want to use and press the OK button.
- Click the OK button to save the filter.

- Congratulations, you set up a filter that automatically applies a tag! If you receive a new message that meets the criteria you specified, it will automatically tag the message for you.
Show emails with a particular tag
- Make sure you have the Mail tab selected. If you do not, select it.

- Locate the Tags section in the left pane and select the tag you want to view.
- The messages that contain the selected tag will appear in the right pane.
Using tags with contacts
- You can follow the same instructions as email tags above to tag your contacts.