Calendar Basics
Advanced Email features a beautiful web-based calendar you can access from any device with a web browser.Logging in and opening your calendar
- Using your favorite web browser, navigate to https://mail.epbfi.com.
- Once the page loads, you will be greeted by the login dialog box:
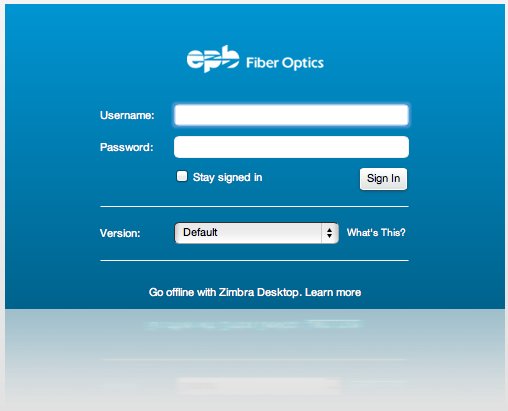
- In the Username field, type in your Advanced Email Address (for example, john.appleseed@mycompany.com).
- In the Password field, type in your Advanced Email password.
- Click the Log In button to log in.
- Your Inbox should now appear on the screen.
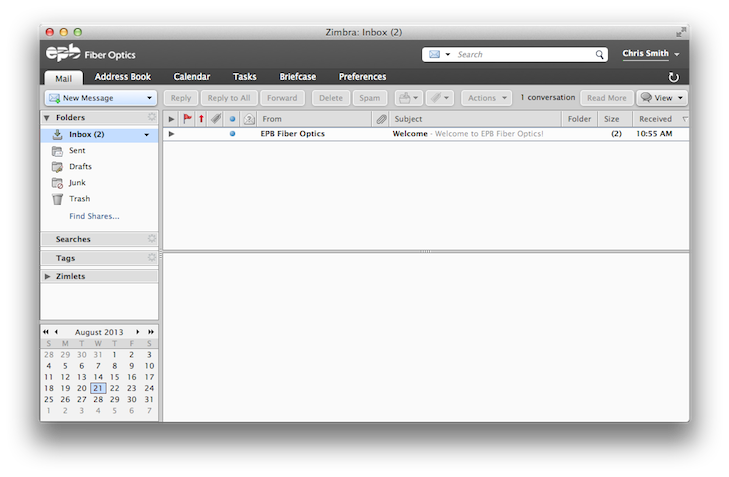
- Click on the Calendar tab to open your calendar:
- Your calendar should now appear:
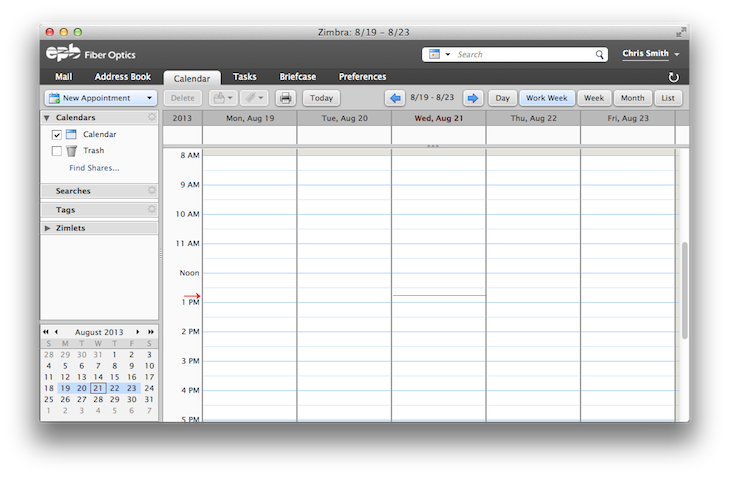
- The default view is Work Week, but you can select Day, Work Week, Week, Month, or List to change your view:

- You can also use the Previous and Next buttons to navigate the selected date range:

Creating a meeting
- To create a new meeting, click the New Appointment button:

- A new tab will appear to create your appointment:
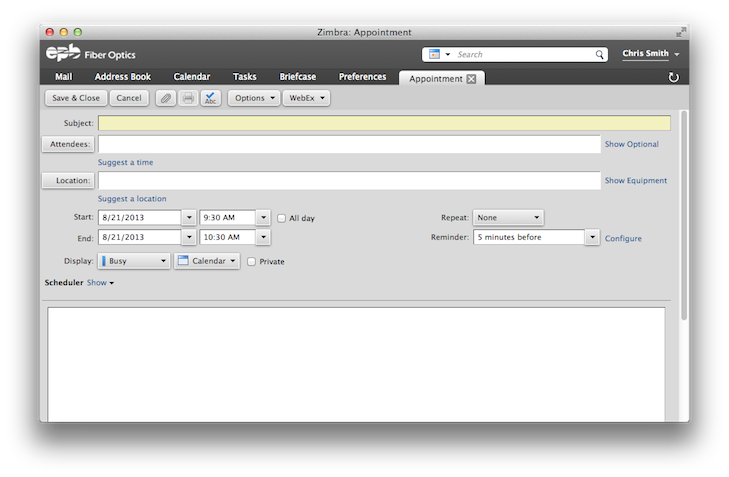
- In the Subject field, fill out the name of the event:

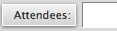
- In the Attendees field, specify the email addresses of those you wish to join you in the meeting. You can also click the Attendees button to select contacts from your contact list:
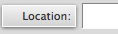
- In the Location field, specify a location for the event. You can also click the Location button to select from a list of calendar resources specified by your domain administrator:
- Specify a Start and End time for your event, and any other options you'd like:

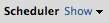
- Expand the Scheduler to view the busy/free status of your co-workers:
- Optionally, you can provide comments in the bottom field. This will be sent in the body of the inviation message to your recipients.
- Once you are satisified with your event, click the Save & Close button:
