Zimbra Migration Wizard
The Zimbra Migration Wizard will automatically copy your email, contacts, calendars, contacts, rules, and out of office messages to your new Advanced Email account. You can either run the Zimbra Migration Wizard on each user's machine where Outlook is installed or on any Windows machine with Microsoft Outlook along with the user's .PST file.
Requirements
You will need to ensure your computer meets the following requirements to use the Zimbra Migration Wizard:
- The Import Wizard can import .pst files from Outlook 2000 and Outlook XP, provided that the Import Wizard is run on a machine with either Outlook 2003, Outlook 2007, or Outlook 2010 installed.
- A 64-bit operating system is supported if the system running the migration tools has a 32-bit version of the email client installed.
- If you set your computer’s regional settings to a language other than English (United States), the Import Wizard might fail. Your regional settings are located on your computer at Control Panel>Regional and Language Options.
- You must have the .NET Framework 4.0 installed. Click here to download the .NET Framework 4.0 Installation Package (external link).
Download links
Please use the following links to download the appropriate version of the Zimbra Migration Wizard:
Using the Zimbra Migration Wizard
- Download the Zimbra Migration Wizard using the appropriate link in the section above.
- If your web browser does not automatically extract the .zip file, extract it wherever you'd like.
- Double-click the ZimbraMigration.exe executable file to open the application.

- If you get an error message when you open the program, ensure you have .NET Framework 4.0 installed.
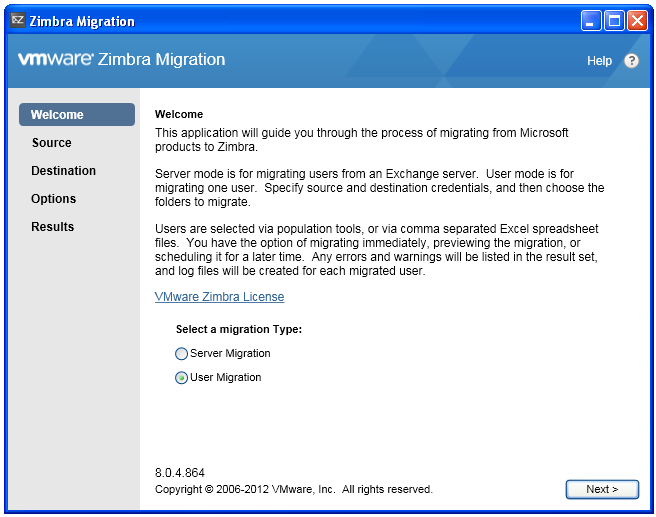
- The wizard should appear. Select the User Migration option, then click the Next button.
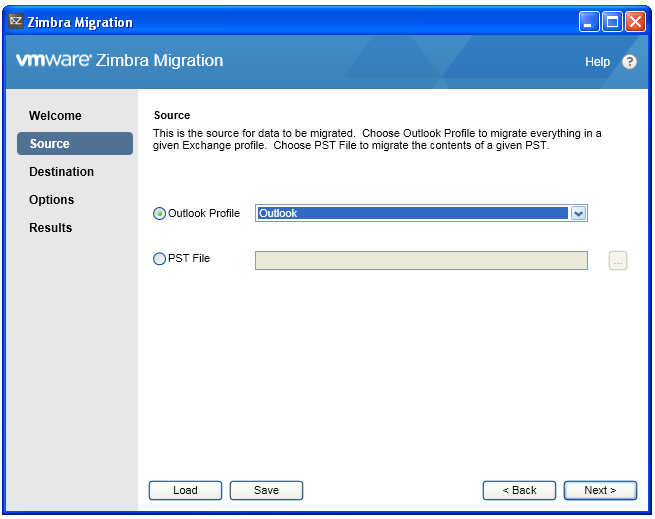
- Select your Outlook profile name from the drop-down menu or your PST File, then click the Next button.
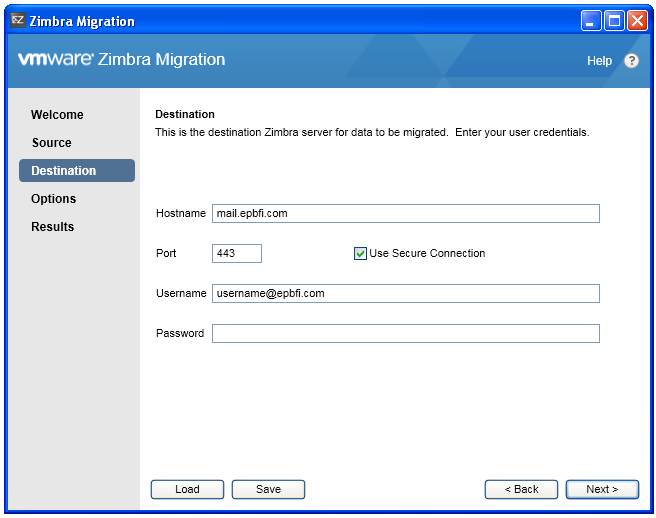
- Complete the form with the following information:
- Set the Hostname to mail.epbfi.com
- Set the Port to 443 and ensure the Use Secure Connection box is checked.
- Enter your full Advanced Email Address in the Username field.
- Enter your Advanced Email Password in the Password field.
- Click the Next button.
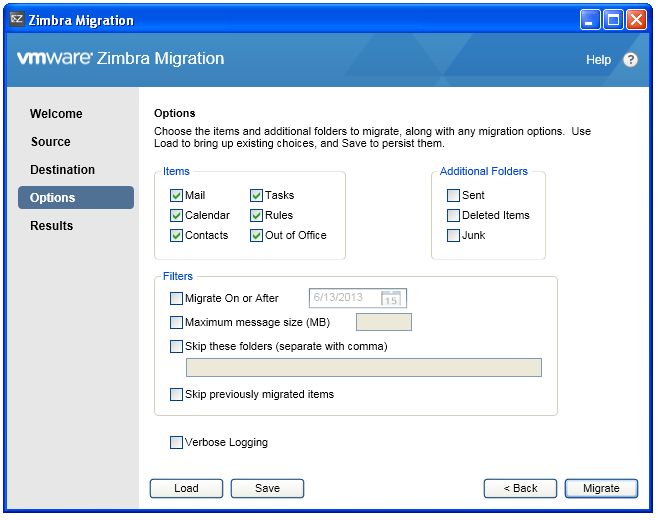
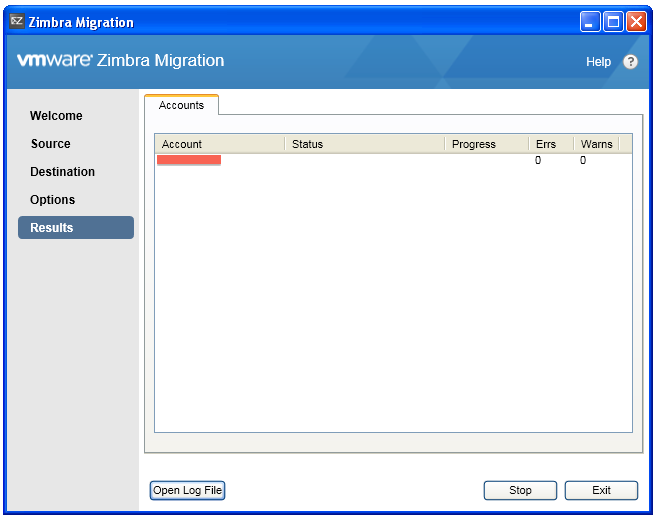
- Select the items you would like to be copied in to Advanced Email, then click the Migrate button.
- The status will appear to be blank for a few minutes. Please be patient as the program is gathering the information it needs about your account.
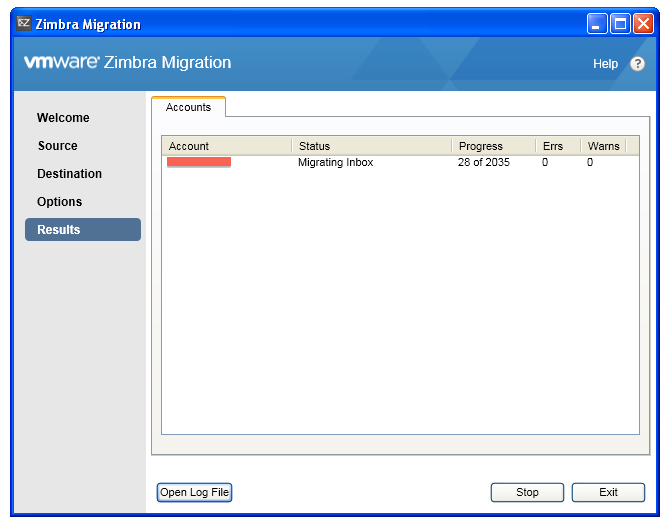
- After a few minutes, you should start setting progress. Please continue to be patient as the items previously selected are being copied over to your Advanced Email account. You can double-click the account name to view more detailed information about the progress.
- Once the process completes, the status will change to Migration complete. If you see some errors, you may have some attachments in your previous provider's mailbox that are too large. Click the Exit button to close out of the program.
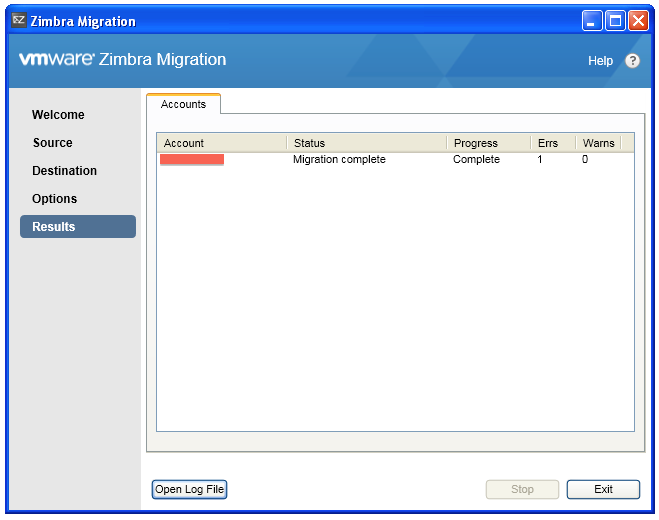
- Congratulations, you have completed your email migration!
Additional Resources
Below you will find links to additional resources:
Return to the Email Migration Asssistant