Configuring Microsoft Outlook 2003
Setting up your new Advanced Email account in Microsoft Outlook is a breeze. In this document, we will cover:
- Downloading the latest version of Zimbra Connector for Microsoft Outlook
- Installing the Zimbra Connector for Microsoft Outlook
- Configuring your Microsoft Outlook Profile
Downloading the Zimbra Connector
- First we need to download the Zimbra Connector installer package. Please follow the following link to obtain the latest version of the software:
https://admin.epbfi.com/client/win
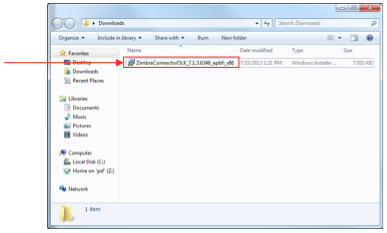
- Be sure to note the download location as we will need to access the installation package in the next step.
Installing the Zimbra Connector
- If your Microsoft Outlook client is currently running, please be sure to close it. Once you ensure Microsoft Outlook is not running, locate the installation file we just downloaded in Windows Explorer and double-click it.
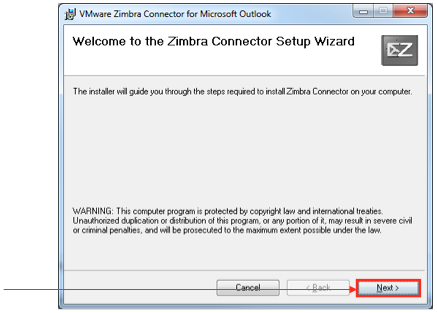
- You should now see the installation program. To get started, click the Next button.
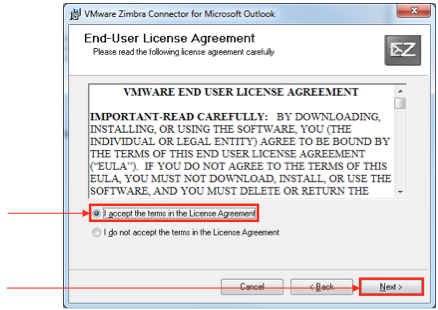
- After you read and agree to the End-User License Agreement, select I accept the terms in the License Agreement and click the Next button.
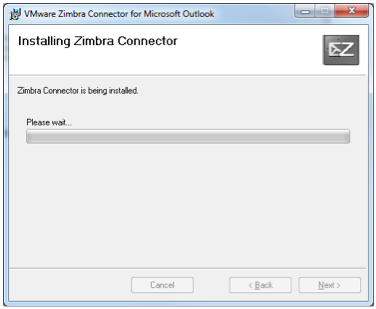
- The installation process should now begin. Please wait until the process completes...
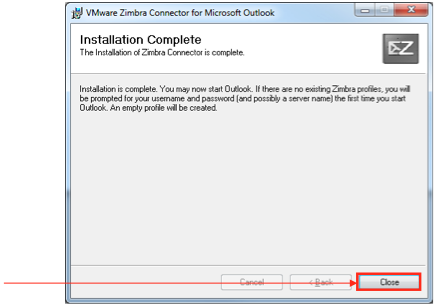
- Once the installation finishes, click the Close button to complete the installation.
Configuring Microsoft Outlook
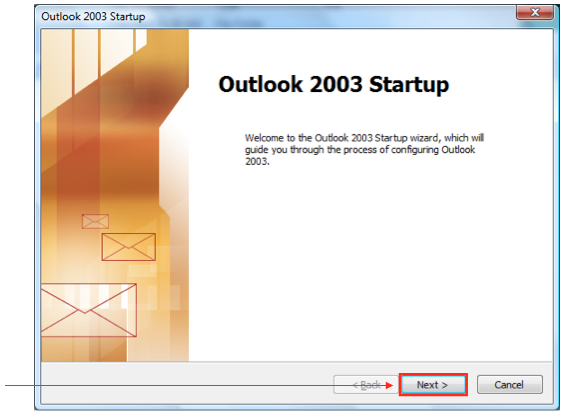
- Launch Microsoft Outlook 2003. If you do not already have a profile configured, you will be greeted with the following dialog box. Click the Next button.
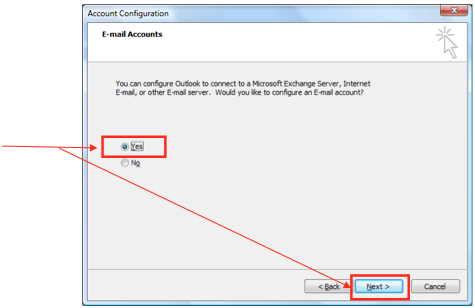
- In the Account Configuration dialog, select Yes and press the Next button.
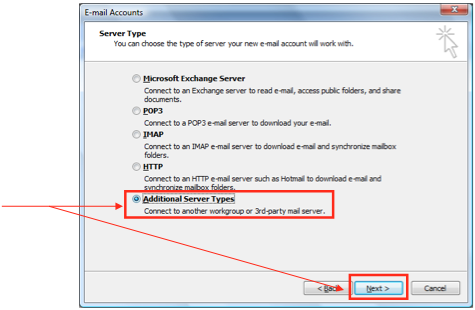
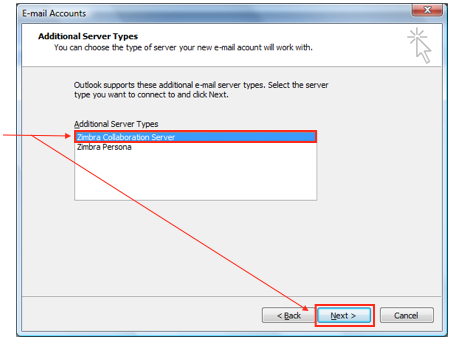
- Select Additional Server Types and then click the Next button.
- Select Zimbra Collaboration Server from the Additional Server Types list box and click the Next button.
- Next, you should see the Zimbra Server Configuration Settings dialog box. The server name should already be set to mail.epbfi.com:443 and Use Secure Connection should already be checked for you. If they are not set this way, please correct the items with incorrect information and proceed to the next step.
- The first time we connect to Advanced Email, we need to supply your Advanced Email Address and password. Select the Email Address (1) field and enter your Advanced Email Address.
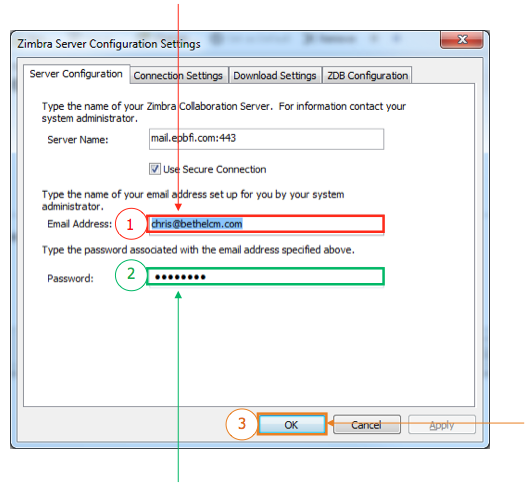
- Select the Password (2) field and enter your Advanced Email password.
- After supplying your Email Address and Password, click on the OK (3) button to complete the configuration.
Congratulations!
You have now successfully configured Microsoft Outlook to use your Advanced Email! It may take a few minutes to synchronize your mail with the Advanced Email server.